Configuring Professional as your SSO service provider
As a Beeline Professional administrator, you can connect your identity provider to configure Single Sign-On (SSO) for your team and support a consistent and secure authentication experience across your applications.
You can connect any identity provider that supports the Security Assertion Markup Language (SAML) 2.0 authentication protocol by specifying the correct field mapping and identity provider details, such as entity ID, SSO URL, and X.509 certificate for verifying signed responses.
Before you begin
-
You must have administrator access to Beeline Professional.
-
Configure your identity provider with the Beeline service provider metadata available on the SSO Integration page in .
Beeline service provider metadata will enable you to set up the connection on the identity provider side. -
Gather the following details about your identity provider (IdP):
-
Entity ID: A unique identifier for your organization’s IdP.
-
Single Sign-On (SSO) URL: The authentication endpoint where Professional redirects users to sign in via the IdP.
-
Logout URL: The endpoint that terminates the user session when users sign out.
-
X.509 certificate: The certificate Professional uses to validate and trust signed SAML responses from the IdP.
-
Field mapping: The configuration that maps IdP attributes (for example,
NameID) to the corresponding user fields in Professional, such as email address or user ID.
-
Steps
To configure Professional as your service provider, complete these steps from any supported browser.
-
Log in to Professional.
-
From the left navigation, go to and then select the SSO Integration tab.
-
From the upper right, select Add. The Add New Single Sign-On dialog displays.
-
Enter the required details for the integration you’re setting up. Complete these sections:
-
General
-
SSO Enabled: Activates all SSO configurations.
-
SSO Integration Name: Assign your SSO configuration a unique name.
-
Description: Additional notes.
-
-
Configuration
Enter the Metadata Endpoint URL and select Auto Fill to automatically populate the Identity Provider SAML properties and x509 Certificate sections with properties present in the metadata. -
Metadata Endpoint URL: IdP XML metadata URL.
-
Display ”Log in with SSO” button on the login page: When enabled, it shows an SSO button on the Professional login page and the User Access URL becomes mandatory.
-
User Access URL: Acts as the main launcher for the SSO process and redirects the user to the client’s IdP for authentication.
-
User Lookup Field: Specifies the user attribute that Professional uses to identify a user during authentication. Available options are:
-
Company Worker ID
-
Custom Field
-
Email (recommended, as it is unique and commonly used for user identification)
-
-
Automatic User Provisioning: Enables Professional to automatically create a user account when a valid SAML assertion is received from the IdP and the user does not already exist in Professional.
Provisioned users are assigned the General User role.
-
-
Identity Provider SAML Properties
This section lists the SAML settings that are imported from metadata or entered manually. These values must match the IdP configuration for SAML communication to function correctly.
-
Entity ID
-
Single Sign-On Service URL
-
Single Logout Service URL
-
-
Field Mapping
Defines how user attributes from the IdP are mapped to corresponding Professional fields. Multiple mappings can be configured to ensure accurate user creation and updates.
-
Identity Provider Attribute: Typically defaults to NameID.
-
Beeline Field: Can be mapped to one of the following:
-
Email
-
Company Worker ID
-
First Name
-
Last Name
-
Custom Field
-
-
-
-
If you’ve not entered the Metadata Endpoint URL and selected Auto Fill, you can add your x509 certificate by completing one of these steps:
-
Paste the certificate in the Paste Text tab of the x509 Certificate section.
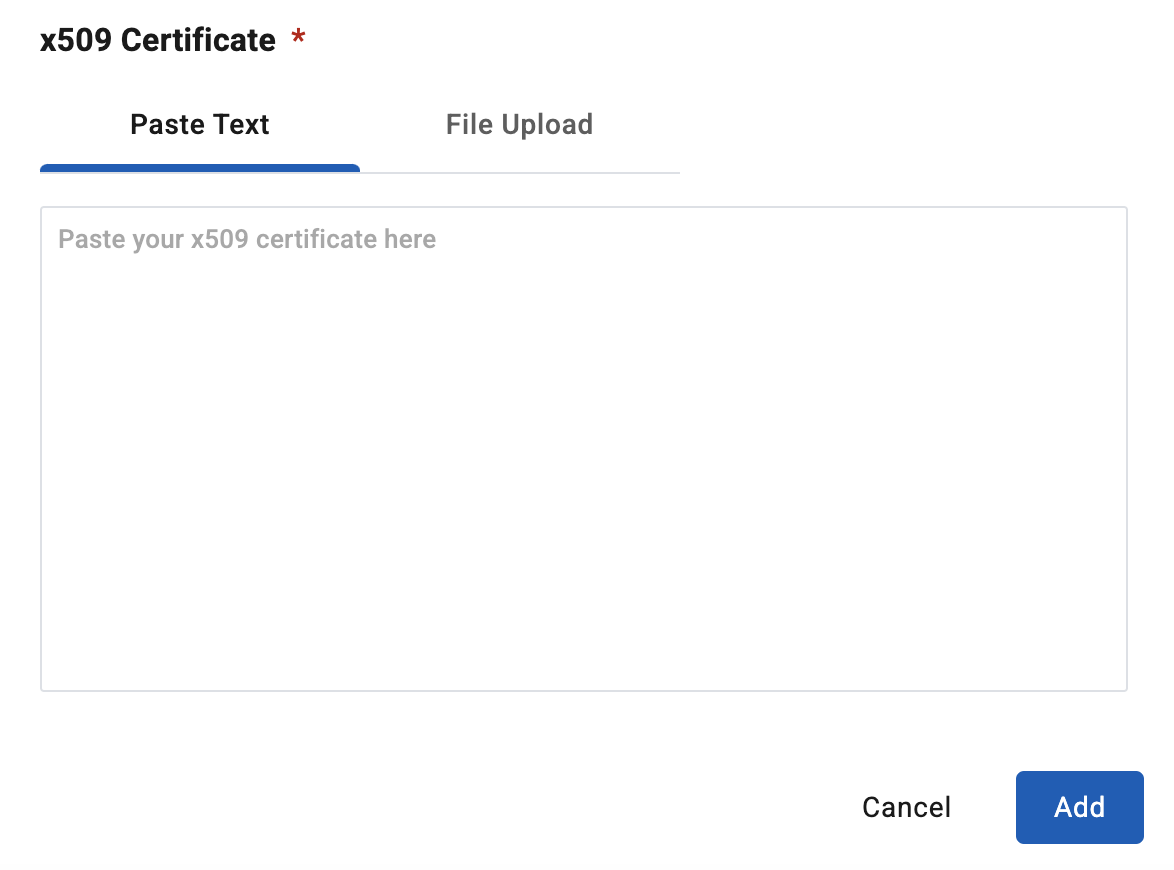 Figure 1. Pasting your x509 certificate
 -
Upload your certificate in the File Upload tab of the x509 Certificate section.
 Figure 2. Uploading your x509 certificate
-
-
Select Add to add the SSO integration.
Next steps
After you configure Beeline Professional as your SSO service provider, test the connection to confirm that users can sign in successfully. See Testing SSO configuration.