Controlling rate visibility
Beeline Professional contains sensitive information that requires careful access control. By default, users are denied access to data in Professional unless explicitly granted access via a security policy.
As a Beeline Professional administrator, you use security policies and permissions to ensure that only authorized individuals can access the information necessary for their role while protecting sensitive data. Who can view which rates where is one of those data points you need to control.
Multiple rate types, such as pay and bill rates, are frequently used throughout Professional. Controlling visibility for each rate type is crucial to meet client requirements. If you use more rate types, you can create multiple policies to set the visibility for each rate type.
For example, you might need to ensure hiring managers can view applicable rate information so they can make informed budget and resource allocation decisions. While also balancing a client’s need to restrict visibility to pay rates, which are considered sensitive data. So, you can create a policy that allows hiring managers to view bill rates, but prevents them from seeing pay rates.
Before you begin
-
You must have administrator access to Professional.
-
Use the Policy Analyzer tool to check which policies apply to an
Engagement: Bill Rateresource. Ensure there’s a permission policy configured to allow hiring managers to read the/root/person/engagement/engagementRate (Engagement: Bill Rate)resource. -
Use the Policy Analyzer tool to check which policies apply to the
/root/billing-rate/billing-rate-value (Reference Data: Billing Rate Value)resource. Ensure there aren’t any permission policies configured to allow managers to view all configured rates. The decision for theREADpermission must either beUNSUREorDENY.
Steps
To create a security policy and restrict visibility for an individual rate, complete these steps:
-
Log in to your Professional tenant.
-
From the menu on the left, go to . The Security & Permissions table displays.
-
From the upper right of the Security & Permissions table, select Create Security Policy. The Add New Policy dialog displays.
-
In the Title field, enter a meaningful title that best describes the policy. For example, you might enter:
Managers can view bill rates
-
In the ID field, reenter your title replacing spaces with hyphens. For example:
managers-can-read-bill-rate
-
Select Permit as the policy type.
-
Select Read as the action.
-
Select User as the actor type.
-
From the Resource Group list, select Engagement.
-
In the Actor tab, select General User as the user type.
-
Select the Relationship tab and then select Managers.
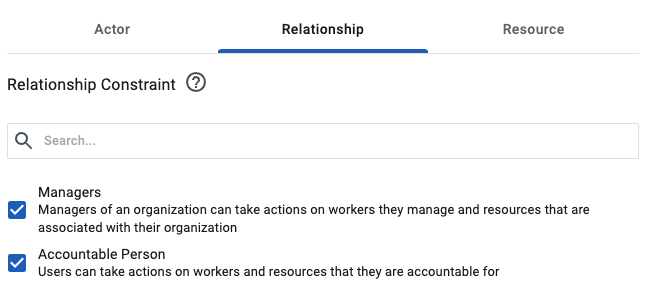 Figure 1. The Relationship tab
 -
Optional: Select Accountable Person, to ensure users designated as accountable persons can also view the rate.
-
Select the Resource tab and select the bill rate from the Available fields. You can search to locate your rate quicker.
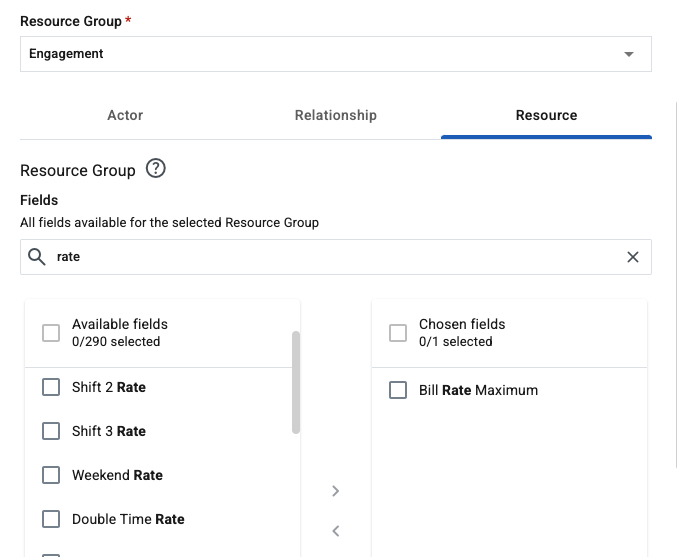 Figure 2. The Resource tab
The Engagement Rates field controls visibility for all the rates defined in your site. Don’t use it when creating policies to control specific rates. -
Select Add to create the new policy.
Verification steps
To verify that your policy was configured correctly, complete these steps:
-
Log in as a hiring manager.
-
From the left navigation, go to the Workers hub.
-
Select a worker from the manager’s organization. The Worker Profile page displays.
-
Select View Details and find the Finance section.
-
Ensure that the bill rate displays in the Engagements Rates area.