Creating Quick Views
A Quick View represents a simplified view of data that displays in a table. You can save a combination of search results and filters into a Quick View. You can create multiple Quick Views, pin the ones you use more frequently, and switch between them to access only the data that you want to see.

| Remember to reset any active Quick Views to return the table settings to their default values. |
To create a Quick View, first apply all the required customizations to the data that displays in the table. Next, create a new Quick View to save your customized view.
You can export Quick View data on demand or schedule regular exports. For more information, see Scheduling Quick View exports.
You can create Quick Views in these hubs:
-
Contracts
-
Engagements
-
Invoices
-
Job Applications
-
Job Postings
-
Suppliers
-
Time & Expenses
-
Workers
-
Work Requests
| Quick Views are specific to your own profile and are visible to you only. To share Quick View data with another user, you can export the data to a file and share the exported file. |
Steps
Creating a quick view
To create a quick view, complete these steps from any supported browser.
-
Log in to your Professional tenant site.
-
From the left navigation, go to the hub where you want to create a quick view.
-
Clear any filters or views applied to the data displayed in the table.
-
Optional: Use the search located above the table to narrow the items displayed in the table. You can search for a name, title, or ID depending on the hub you’re in. For example, you can search by engagement or worker name in the Engagements hub.
-
Select the Filters icon located above the table to apply filters and refine the data displayed in the table, and then close the Filters panel.
-
Select the Quick View icon located below the hub name, and then select Create Quick View. A Save Quick View dialog displays.
-
Enter a name.
-
Take one of these actions:
-
Select Pin as a Quick View to keep a quick view listed at the top of a hub.
or
-
Clear the Pin as a Quick View checkbox.
-
-
Select Save.
Editing a quick view
To edit a quick view, complete these steps from any supported browser.
-
Select the quick view you want to edit.
-
Optional: Add or remove search results to customize the data displayed in the table.
-
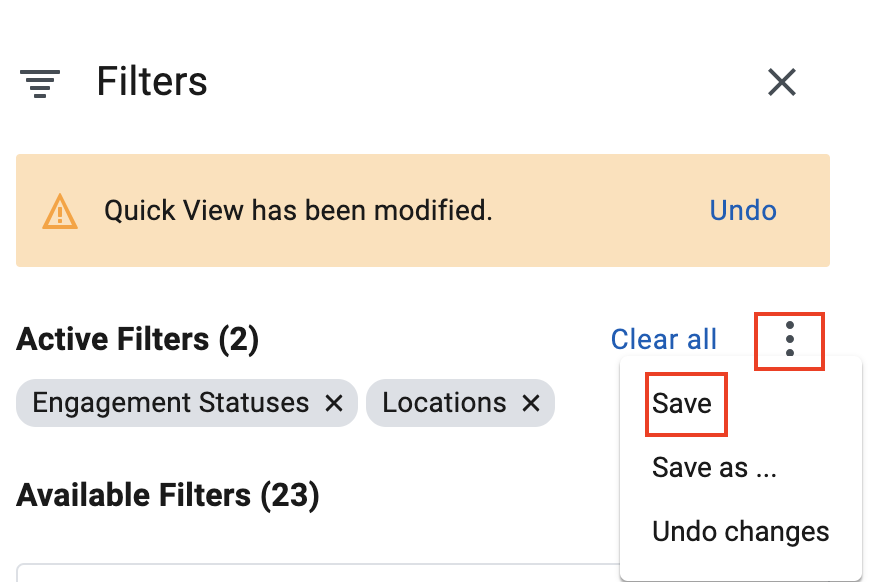
Select the Filters icon located above the table to apply filters and refine the data that displays in the table.
-
Select .