Creating customized reports
Building customizable reports can reduce the time you spend gathering complex analytics about your contingent workforce program. You can give your reports custom names and descriptions, reorder, rename, and adjust the visibility of columns, and add data filters to further refine your data. You can preview your report to check the formatting. Your preview shows you sample data only.
All customizable reports are based on Report Templates that you can configure to your needs. Currently, these Report Templates are available in Beeline Professional:
-
Headcount Tracking
-
Spend Detail Report
-
Fulfillment: Distribution
-
Fulfillment: Candidates
-
Duplicate Workers
-
Contract Spend Report
The Contract Spend Report template is only available when the Contract feature is enabled on the tenant.
Create customized reports by going to and selecting Create Report.
You can also create a customized report directly from the Report Templates page. Go to and select the template you want to use. Then select Customize Report from the right panel.
Steps
To create a customized report, complete these steps from any supported browser.
-
Log in to Professional.
-
From the left navigation, go to and select Create Report. The Select Report Template dialog displays.
-
Select a template from the Template list and then select Start. For example, to build a customized report containing Worker and Engagement data, select Headcount Tracking and then select Start.
-
Enter the name and a short description of your report in the General tab.
-
Select the Columns tab to customize your report. Include or exclude columns using Hide or Show. Or use Hide All or Show All for all columns.
Select Hide All to deactivate all the columns, then search to find the columns you want to include in your report, and then use Show to activate those columns. -
Optional: Use the Rename option to change the label for a column.
-
Optional: Drag and drop columns into the order you want them in your report.
-
Select the Filters tab, and then choose any filters you want to further refine the data in your report.
-
Select Save and Exit.
Next steps
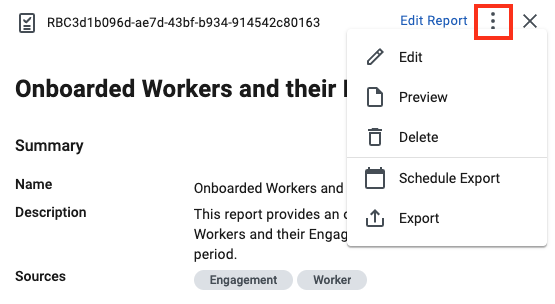
After creating your customized report, you can make further changes by going to and selecting the report you want to edit. Then, select Edit Report from the upper right of the side panel.
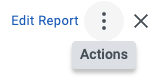
You can also export your customized report data on demand or set a schedule to run exports regularly. Go to and select the report you want to export. Then, select Actions from the upper right of the side panel. Next, select Export or Schedule Export. For more information, see Scheduling customized reports exports.