About the Import Data tool
| This article applies only to technology preview features. To request the new Import Data tool available as a technology preview feature, contact your Client Services representative. |
The Import Data tool is designed to upload your data into a tenant site faster and in a more efficient way while reducing errors.
Whether you’re working with CSV, XLS, or XLSX files, the Import Data tool streamlines the upload process with a guided step-by-step workflow, allowing you to efficiently map, review, and fix data before finalizing an import.
You access the Import Data tool by selecting Import Data from the Quick Actions widget on your Home page.
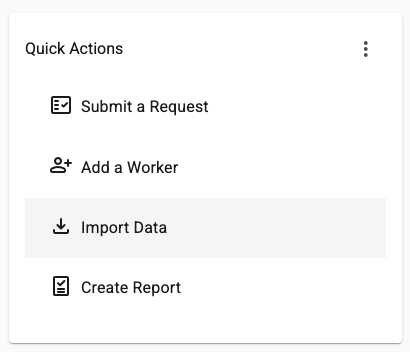
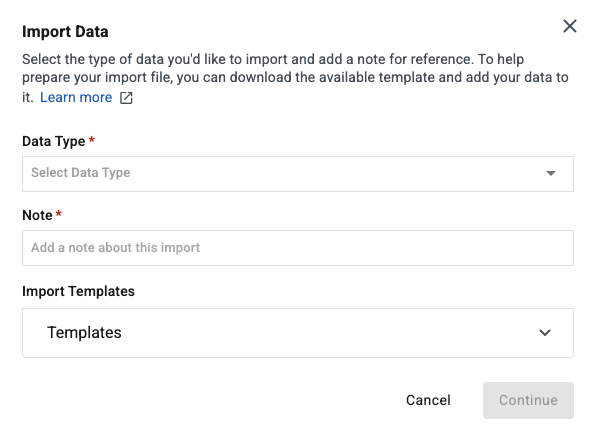
The Import Data dialog displays:
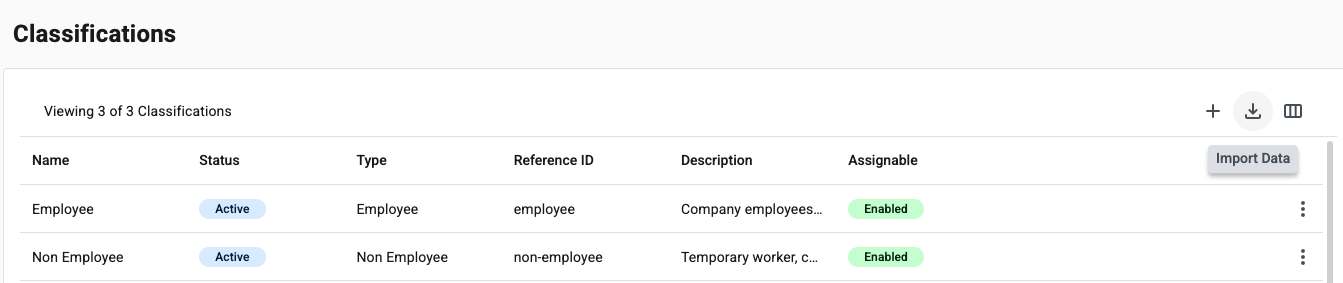
You can also access the Import Data tool from the Settings area to import specific entities. For example, if you want to upload new classifications, from the left navigation, go to and select Import Data from the upper right of the Classifications table.
About import templates
Your Beeline Professional site includes numerous predefined import templates that you can download, fill with the information you want to add, and then upload into the site. The import templates are tailored to the type of data you’re uploading to ensure proper formatting of your dataset.
About the import process
To ensure you have full control over how your data is mapped and reviewed, every import process includes these steps:
Preparing an upload file
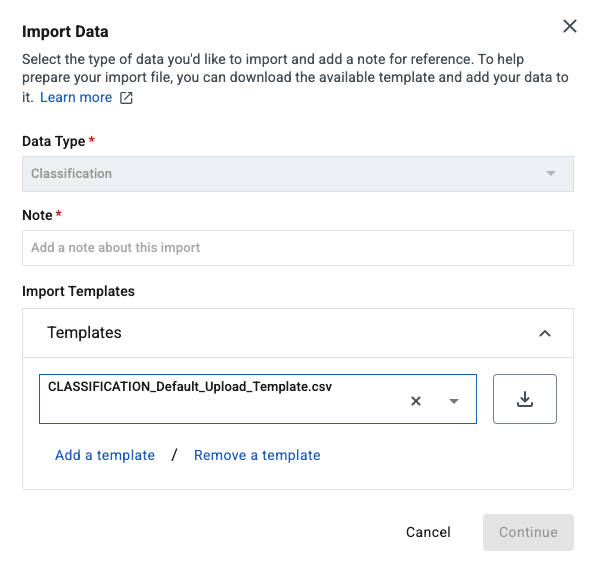
To prepare an upload file, download the predefined template for the type of data that you’re uploading, fill it with the information you want to add, and save the file.
For example, if you want to upload new classifications, select the Classifcation data type and download the default classifications template.
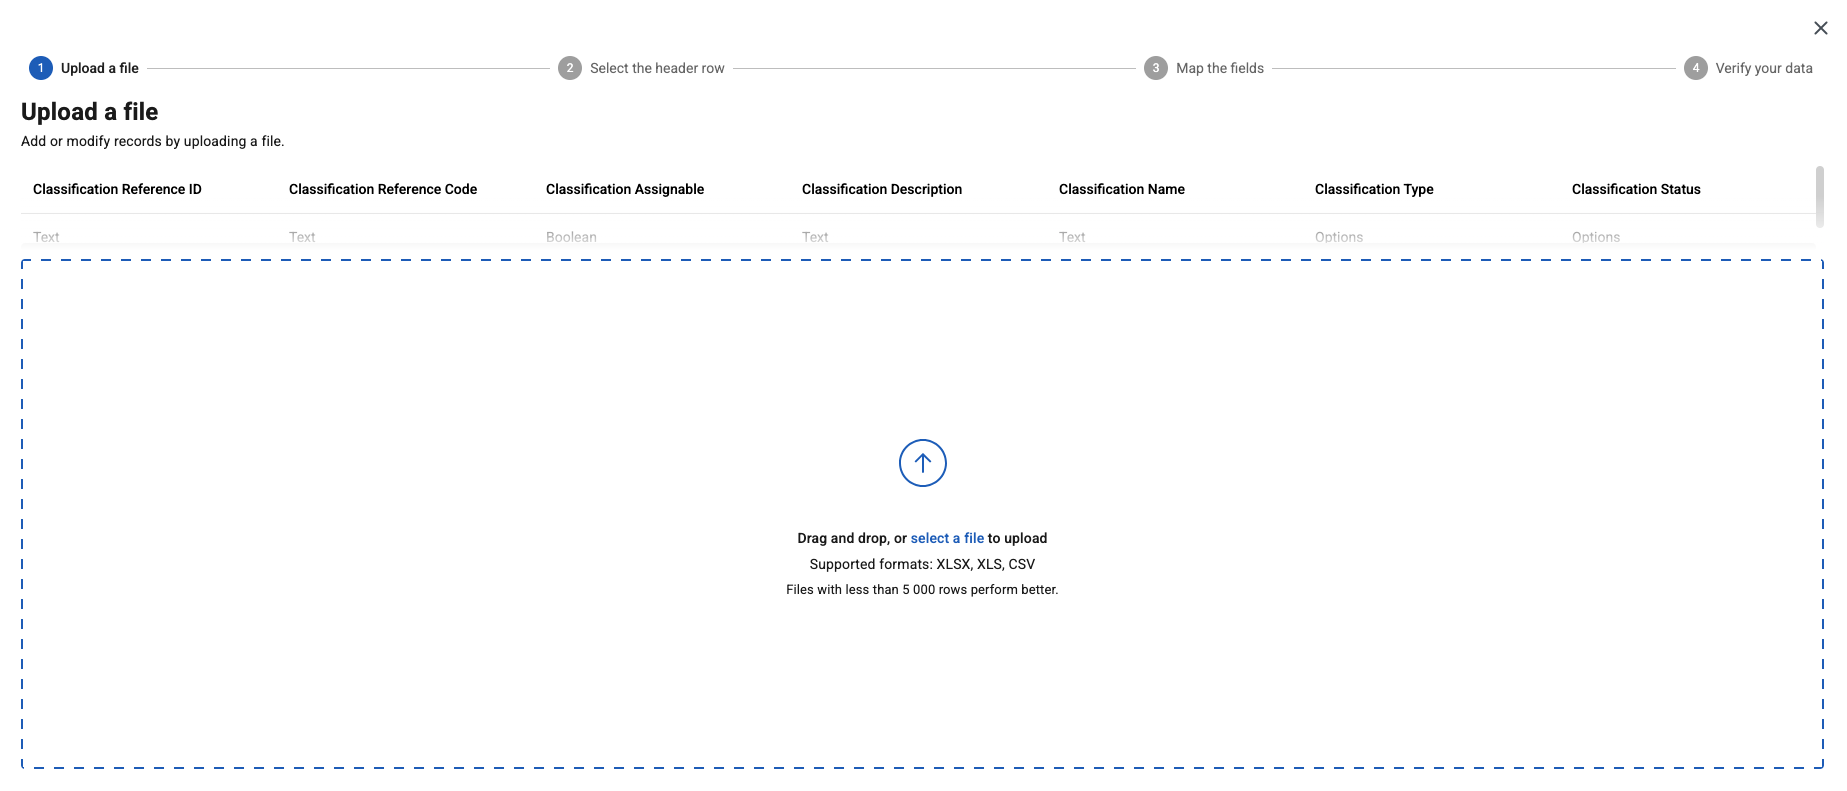
Uploading your file
Drag and drop, or select a file to upload your populated template.
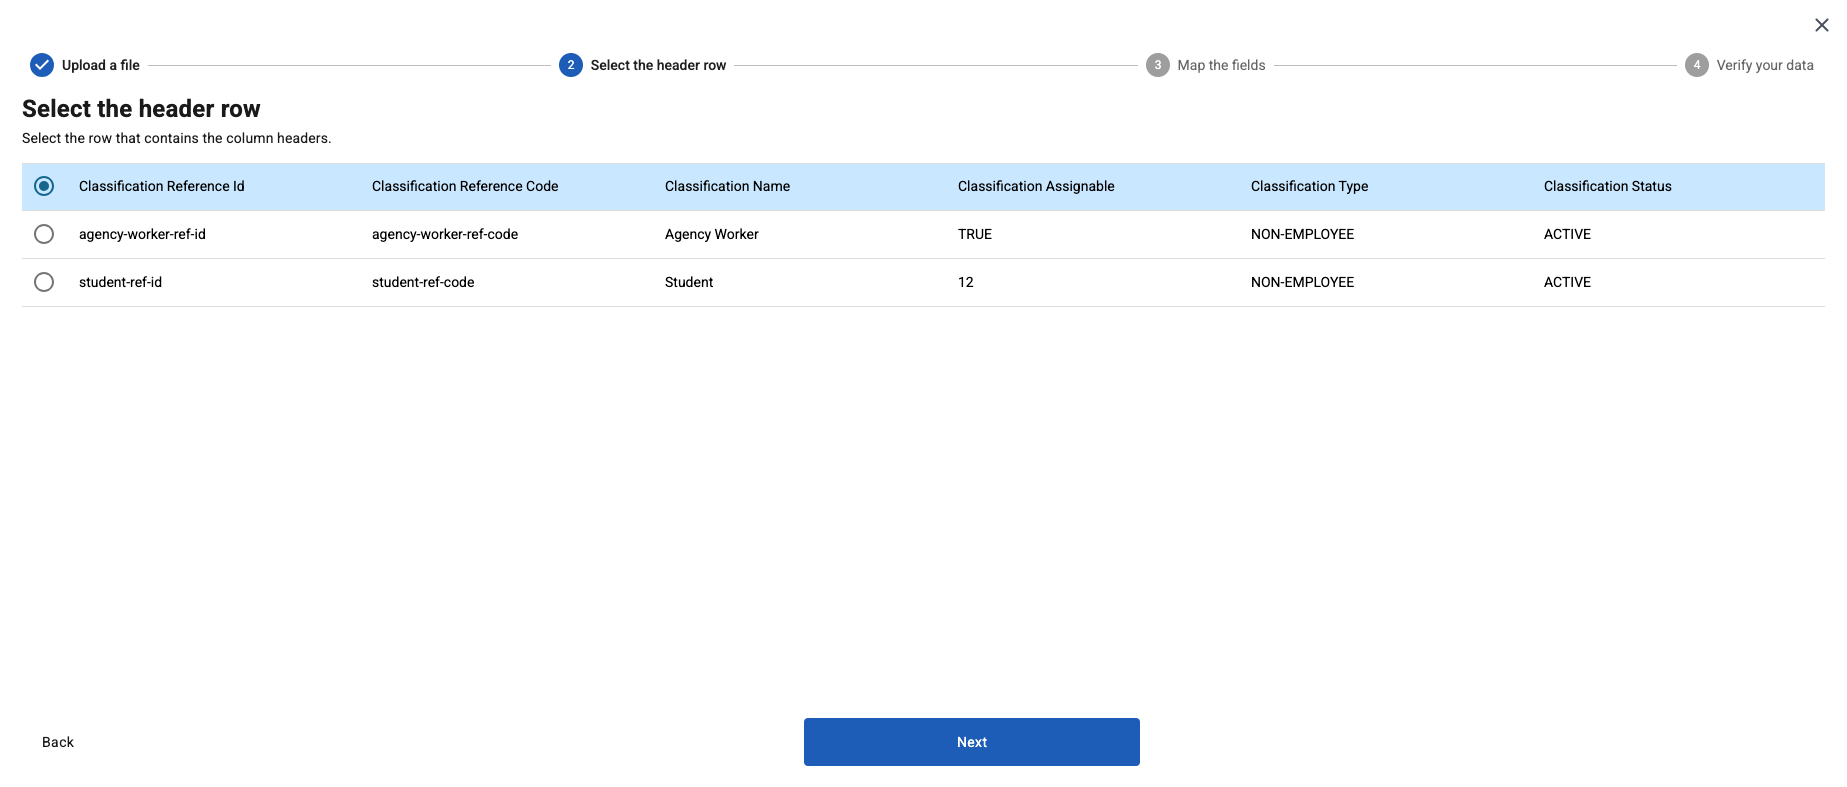
Selecting the header row
Choose a header row to help the system recognize your columns.
Mapping the fields
Map each header in your file to a field in Professional to help the system understand how to import your data into the application.

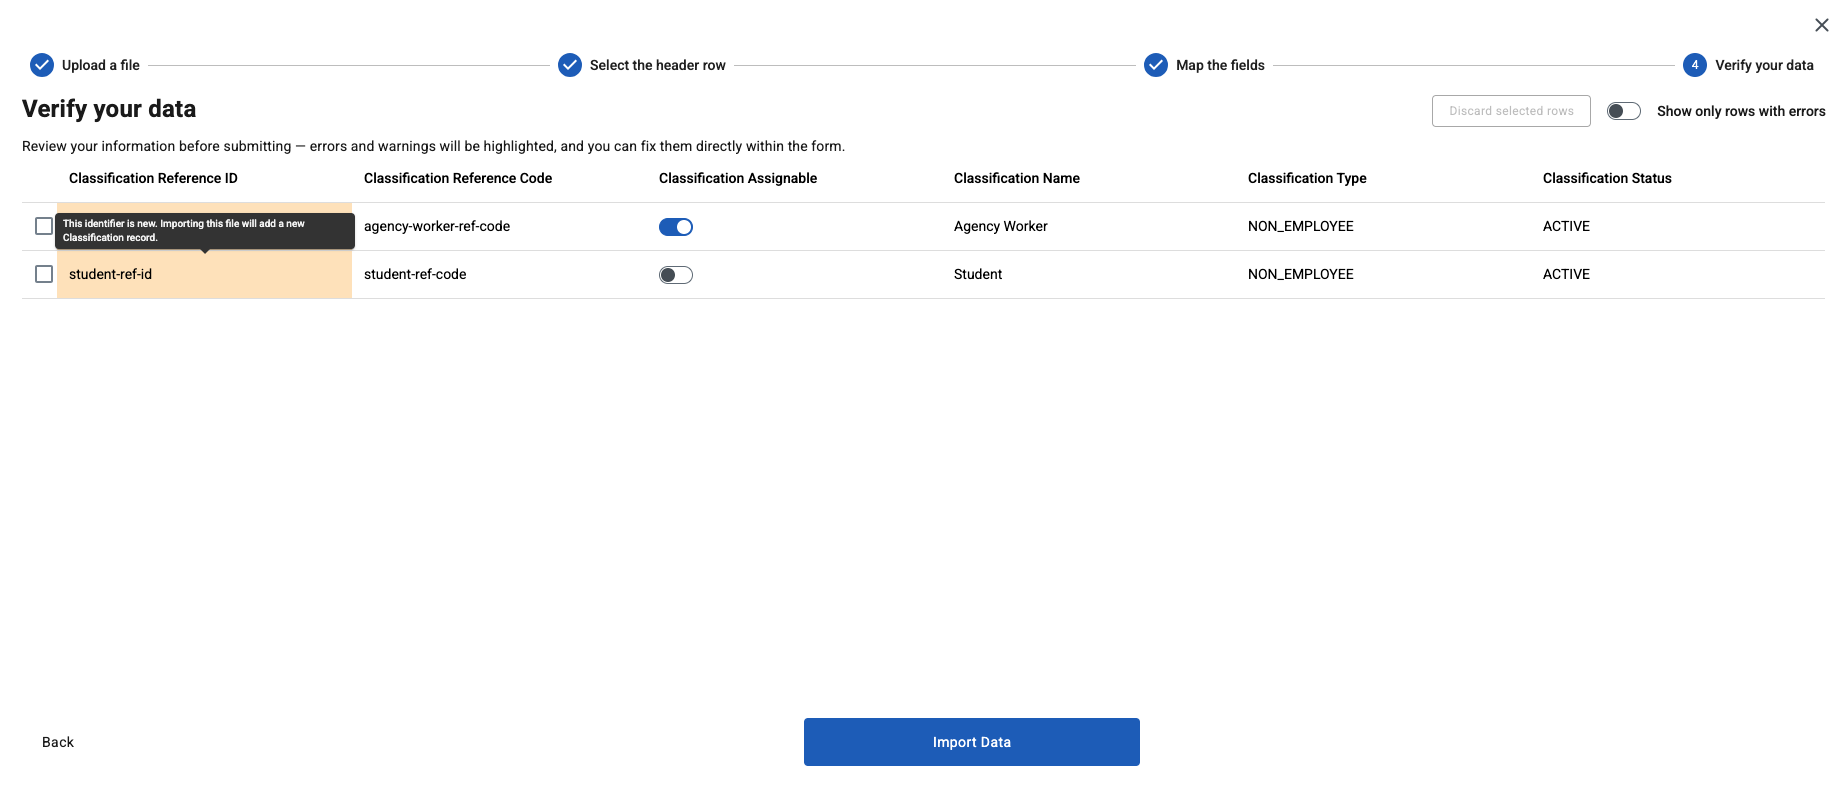
Verifying and fixing your data
Before finalizing the import, you can check your data and review any warnings or errors. You can correct your data directly within the dialog. Hover over any highlighted areas to view warning or error details.
For example, the system uses the entity identifier to determine if you’re uploading a new record or updating an existing one.
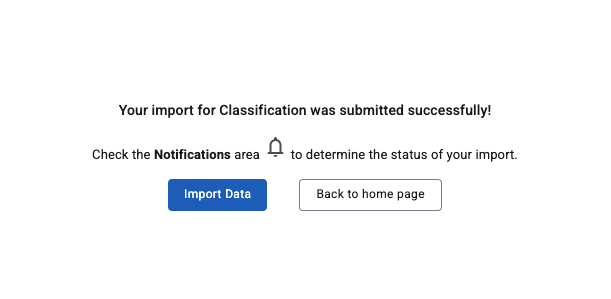
Importing data into the site
After you select Import Data to start the upload process, a message displays to confirm your import was submitted.
|
After you submit the template, a message confirms you’ve submitted it successfully. The message doesn’t mean the data was successfully loaded in Professional. Check the Notifications area to view the status of your import. 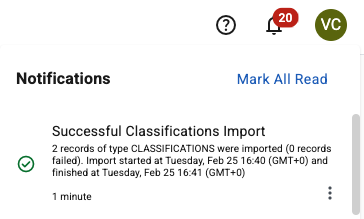
Figure 10. Example of the Notifications area message
|
Administrators can select and determine whether the import was processed successfully or find details about any errors. For more information, see Checking the status of an import process.
If the import process fails, make corrections to the template and try again.